
Mastering Knife Sharpening with a Whetstone
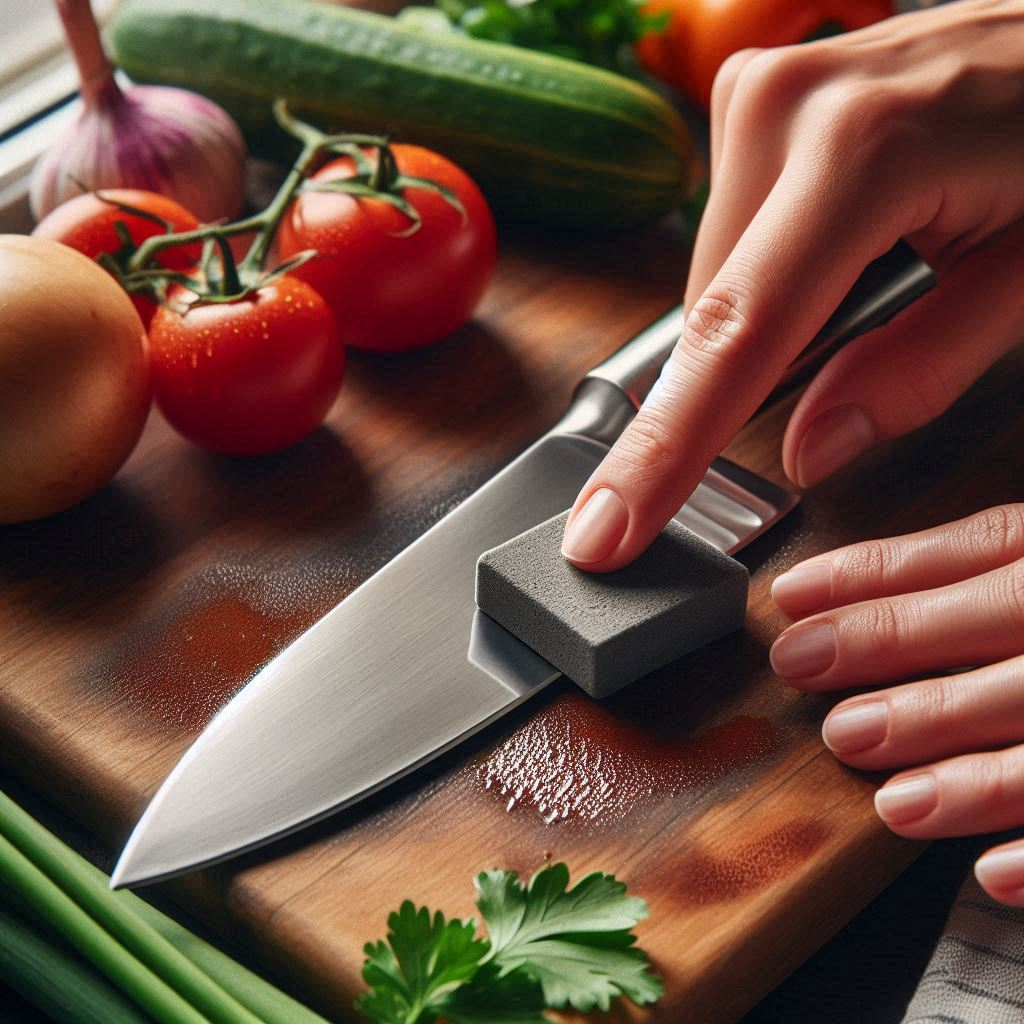
A sharp knife is a safer, more precise knife. Here's the traditional method for restoring a razor edge with a whetstone.
Sharpening your knives with a whetstone is an essential skill for any culinary enthusiast. Beyond making prep work easier, a properly sharpened blade is safer to use than a dull one — less pressure means less chance of slipping. This guide walks you through the full process, from stone preparation to the final protective oiling.
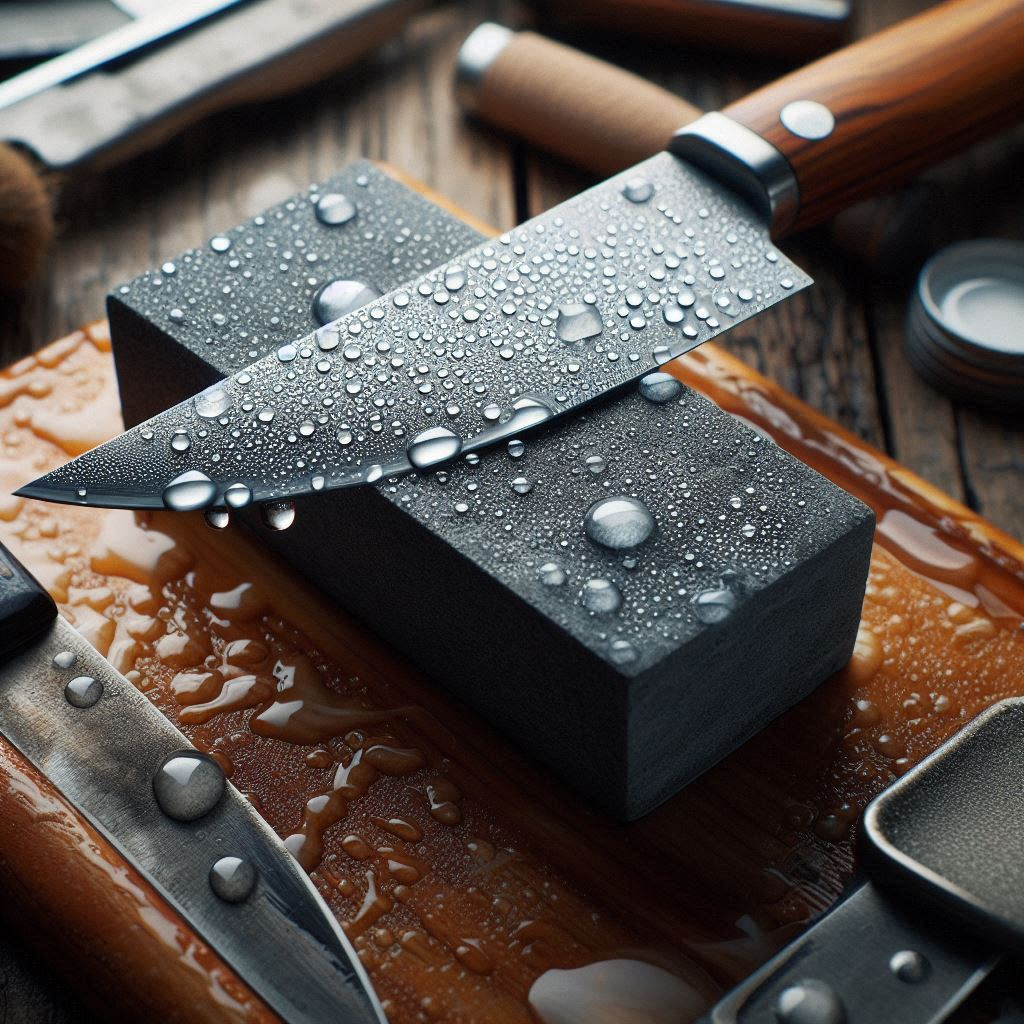
A combination stone with both coarse and fine grits — 1000 grit for shaping, 6000 grit for refining, is a common pairing.
Some stones need a 10-15 minute soak; others just a splash. Check your stone's instructions.
Placed beneath the stone to keep your work surface dry and prevent slipping.
The blade you're restoring to a working edge.
If your stone needs soaking, submerge it in water for 10-15 minutes. If it only needs a splash, wet the surface before you begin. Set the stone on a stable surface with a towel underneath to keep it from shifting.

Most kitchen knives sharpen best at 15-20 degrees. Consistency matters more than precision here — holding the same angle throughout each stroke is what actually creates a clean edge.
Hold the knife at your chosen angle against the coarse side of the stone. Using moderate pressure, sweep the blade from base to tip, covering the full edge. Repeat 5-10 times per side, alternating sides evenly.
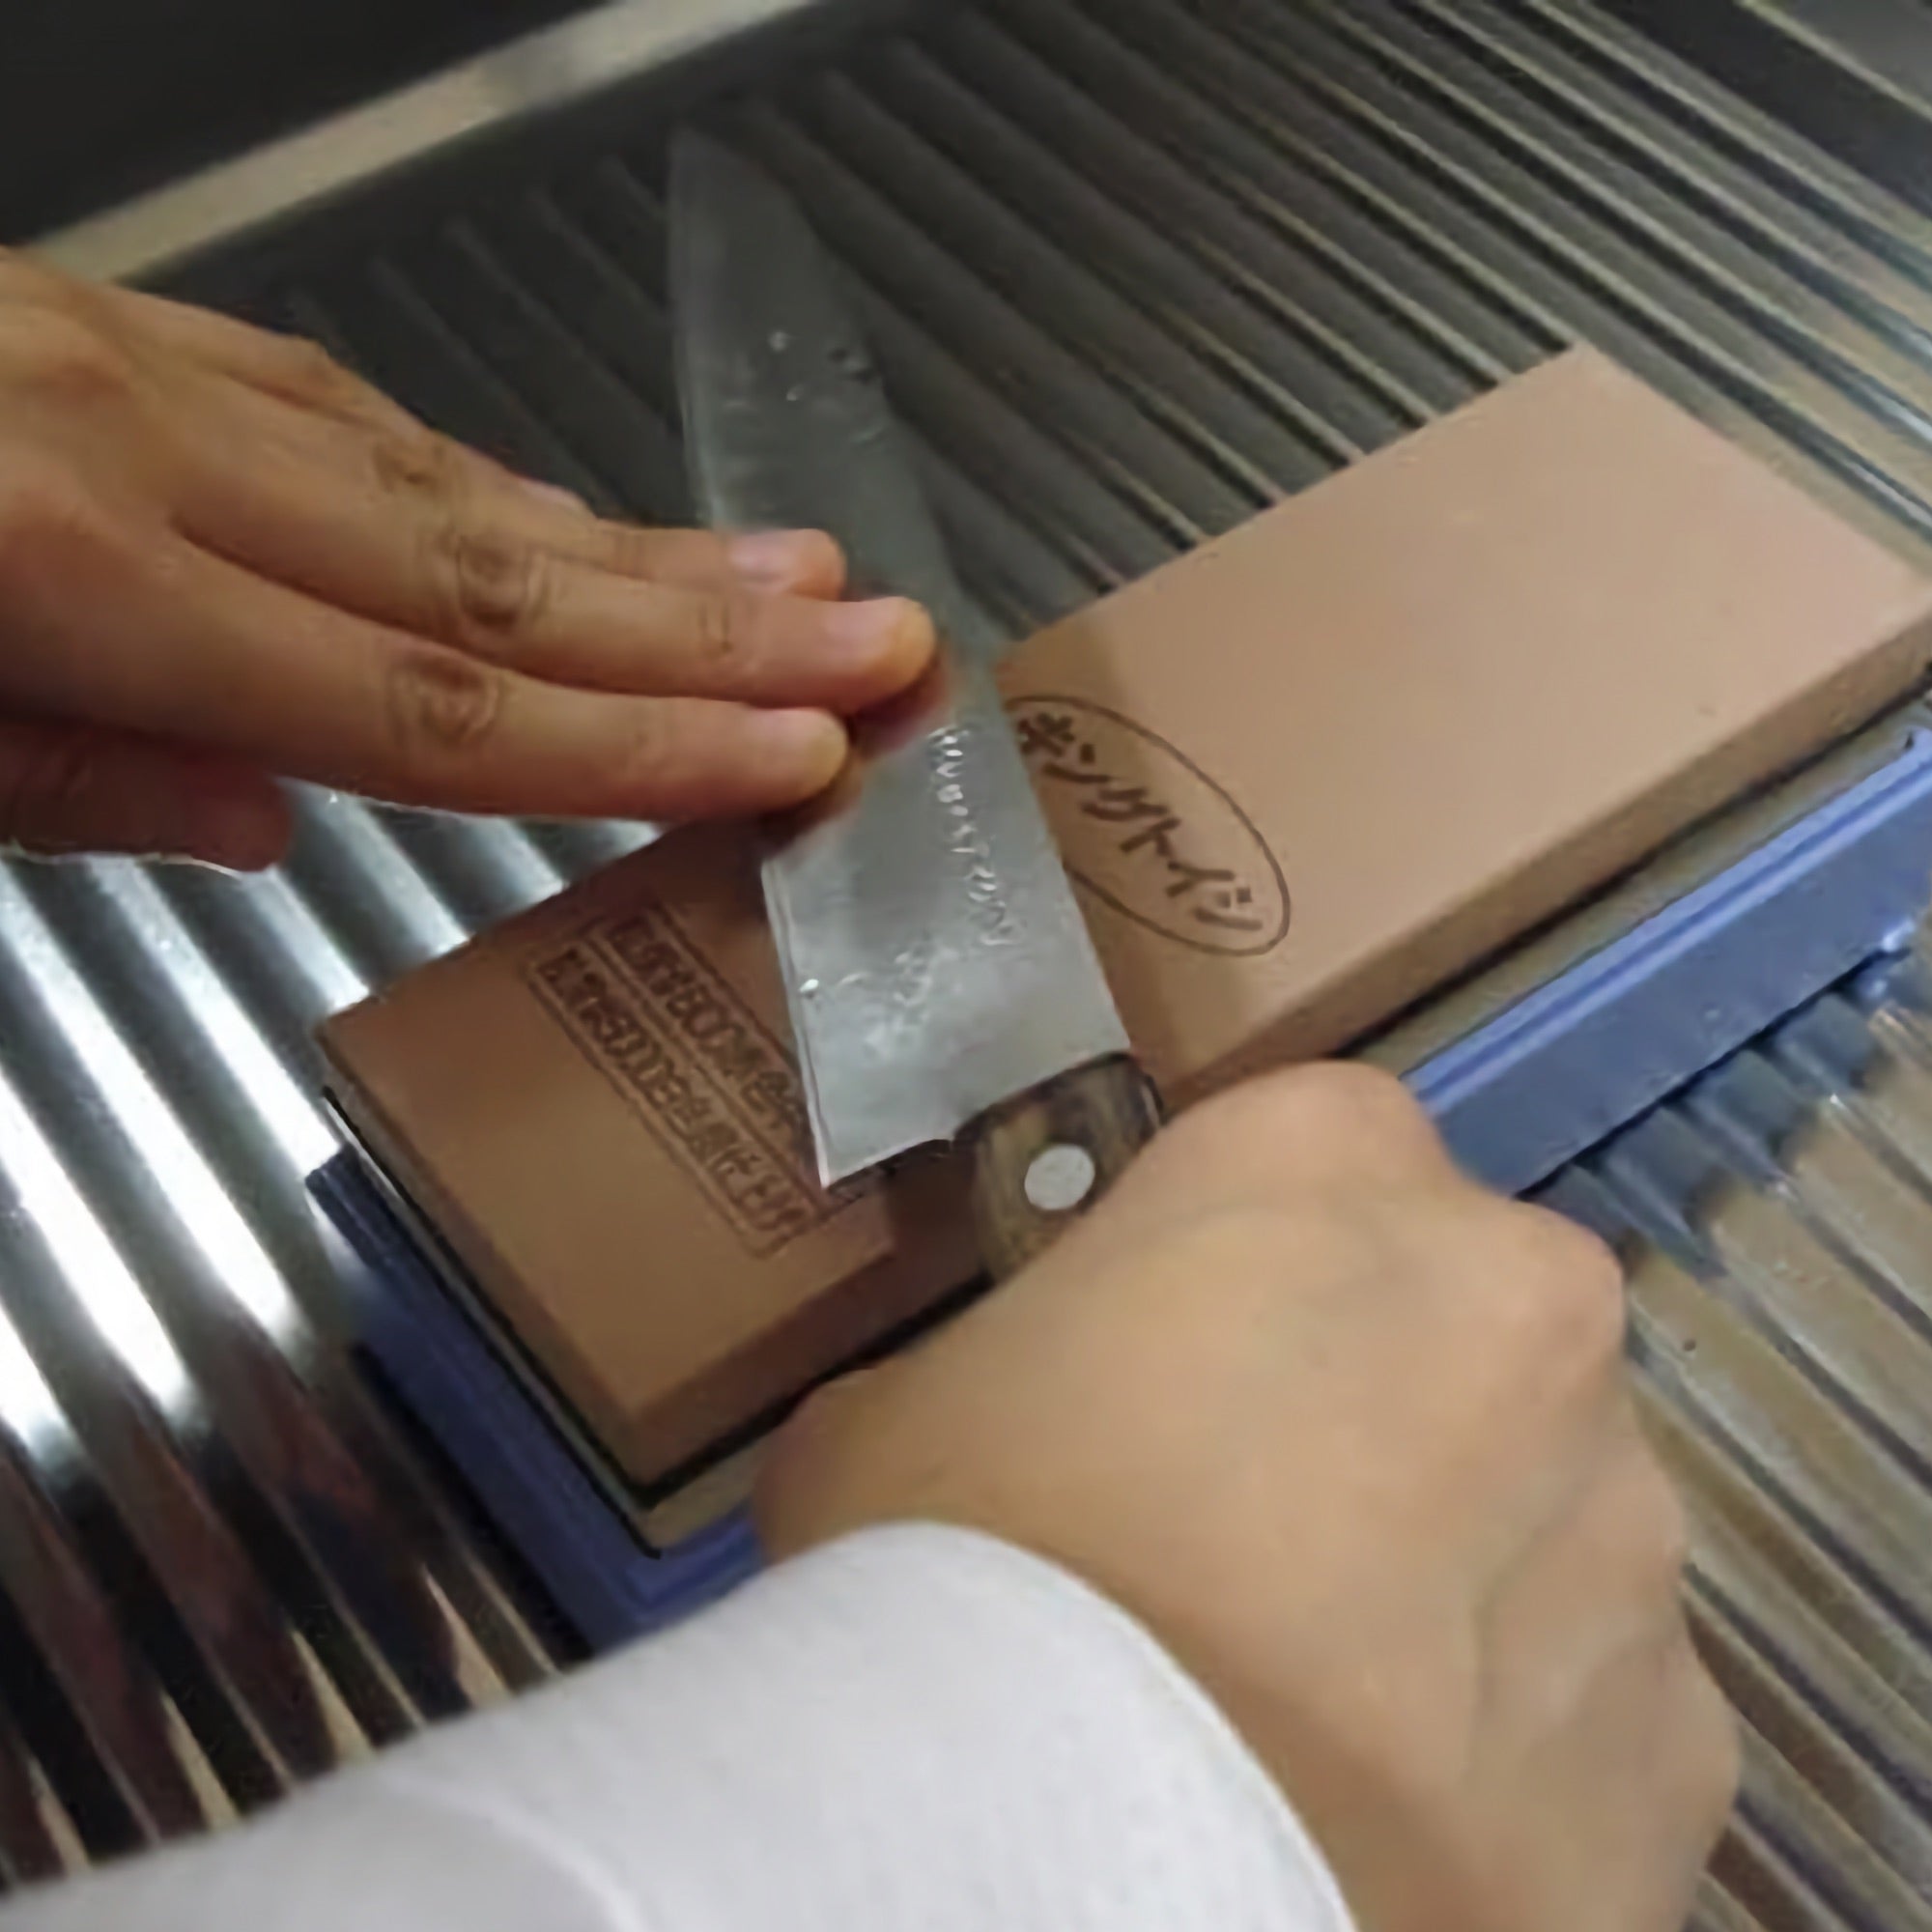
Flip to the fine grit side and repeat the same motion and angle. 5-10 passes per side will refine the edge left by the coarse grit into a polished, working blade.
Feel carefully along the edge for a burr — a sign the edge has fully formed. Test the result on a sheet of paper or a tomato; a clean, effortless slice means you're done.
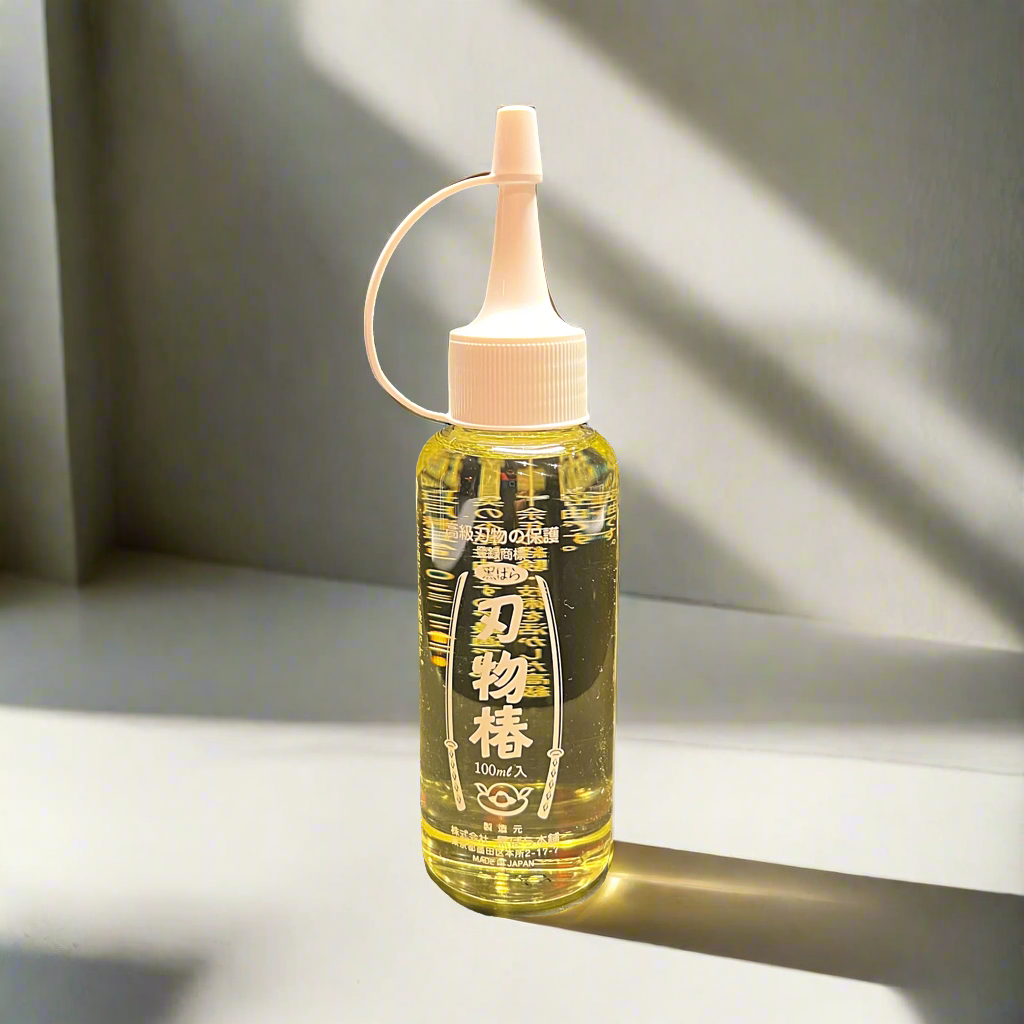
Rinse and dry the blade thoroughly to clear away metal particles. Wipe down and store the stone somewhere dry. Finish with a thin layer of food-safe camellia oil to protect the steel from rust and keep it in top condition.
| Grit | Stage | Purpose |
|---|---|---|
| 400-800 | Repair | Fixing chips or heavily dulled edges |
| 1000 | Coarse | Reshaping the edge, routine sharpening |
| 3000-6000 | Fine | Refining and polishing the edge |
| 8000+ | Finishing | Mirror polish, mostly for straight razors |
- Regular Sharpening: Don't wait until a knife is fully dull — frequent light touch-ups keep the edge in far better condition than occasional heavy sessions.
- Proper Storage: A magnetic block or a saya sheath protects the edge between uses.
- Use a Cutting Board: Avoid glass or stone surfaces — they dull an edge far faster than wood or composite boards.
Explore whetstones, oils, and care essentials built for Japanese steel.
Explore Knife Care Products →
Written by Online Support